This article explains how to setup Cheque Payments as a payment gateway on your GetPaid website.
Overview
Generally, you’d want to use Cheque Payments as a checkout option if you are delivering good and services to a specific region in particular where cheques are still fairly common, as compared to a global clientele where cheque payments might not be feasible.
Settings Overview
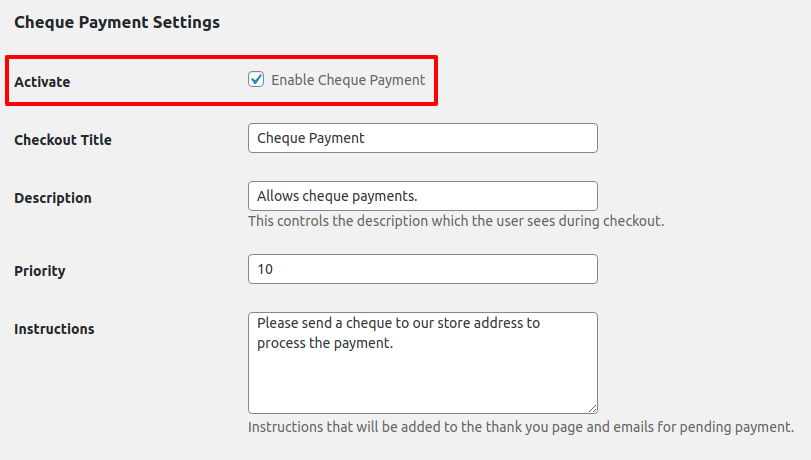
- Activate – Tick the checkbox to activate cheque payments on your site.
- Checkout Title – Provide a title for the checkout field.
- Description – Add a description for the payment gateway checkout field.
- Priority – Specify the priority of the payment gateway on the checkout page.
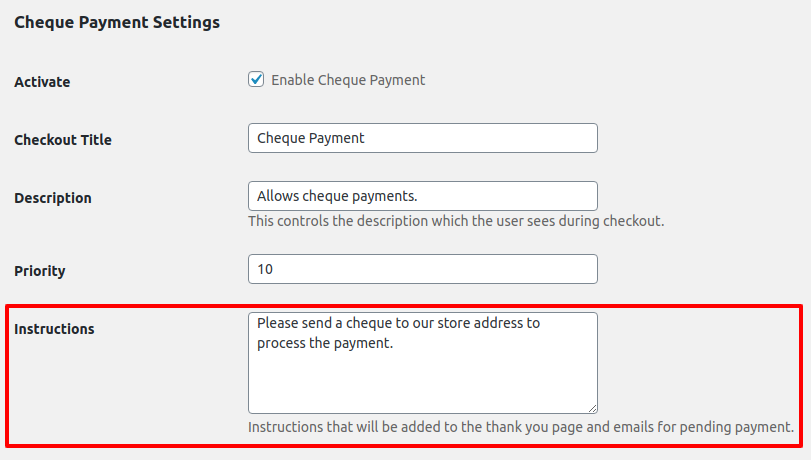
- Instructions – Type any instructions that you might wish to convey to your customers (such as cheque payment conditions, time-frame, etc).
Usage
- 1
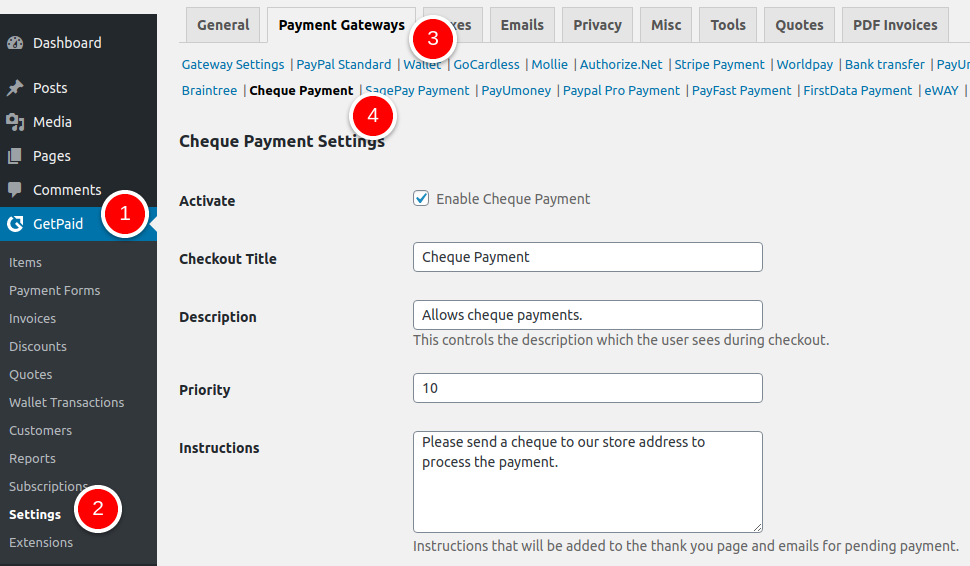
- Go to GetPaid > Settings > Payment Gateways > Cheque Payments.

- 2
- Tick the checkbox next to Activate.

- 3
- Customize your settings as necessary. It is a good idea to add detailed Instructions here, including your refund or cheque rejection policy.

- 4
- Save your settings.