Install
Setup
Automatic Updates and Licensing
Manual Updates
For these instructions, we will assume you already have WordPress installed.
1. Download & install the plugin:
Manual installation
- Download the plugin from our homepage.
- In your WordPress backend, go to: Plugins > Add New > Upload Plugin
- Select the file you downloaded and click “Install Now”
- Once installed click “Activate Plugin”
a name=”setup” href=”#setup”>2. Setup Invoicing:
This section will only cover the basics of getting Invoicing up and running, each settings section is covered in much more details under the Settings category.
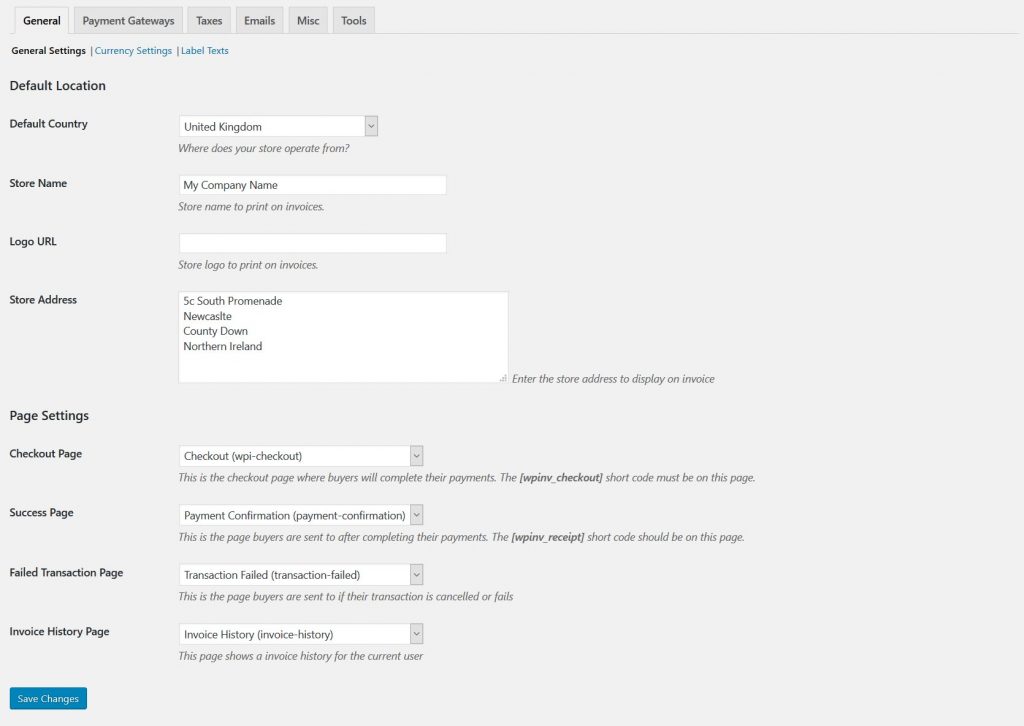
General > General Settings
- Once Invoicing is activated go to Invoicing > Settings.
- Enter your store country.
- Enter your store address.

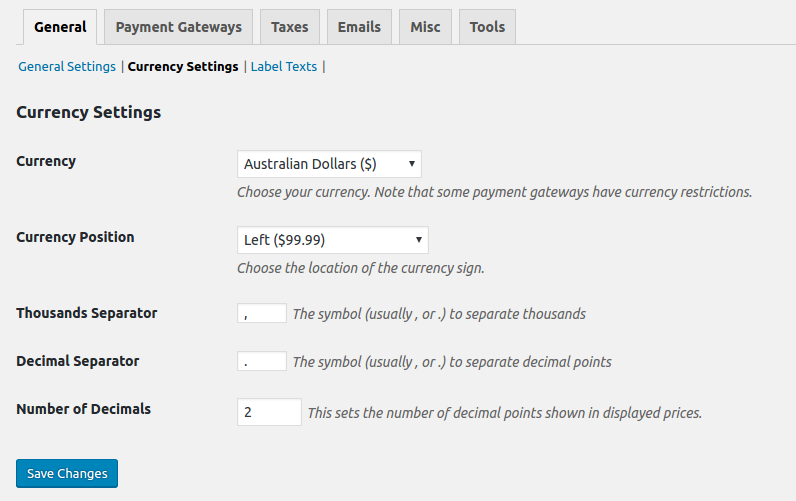
General > Currency Settings
- Here you can set your currency settings and display outputs.
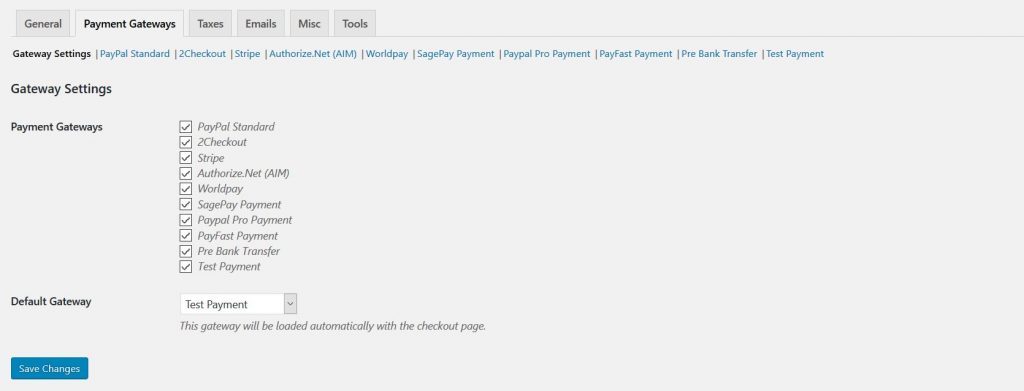
Payment Gateways > Gateway Settings
- Select the gateways you would like to activate and the default gateway, the “Test Payment” will let you simulate purchases on your store.
- For each gateway you activate you will have to enter the settings under each tab.

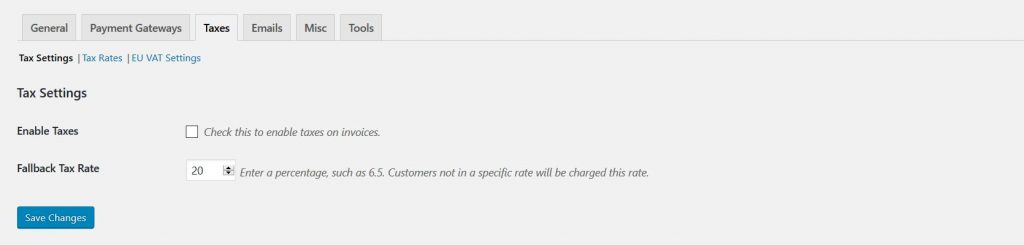
Taxes > Tax Settings
- If you are required to add taxes to your sales you can enable them here.

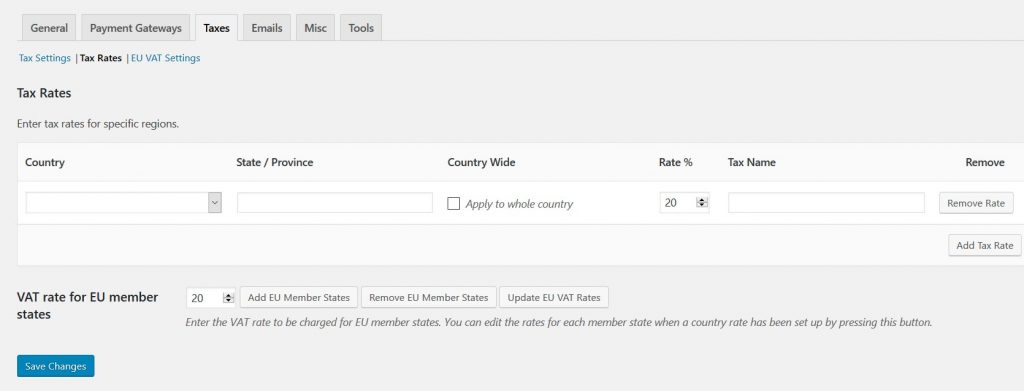
Taxes > Tax Rates
- Here you can set different tax rates for each location.
- If you are selling items to EU customers you are required to charge EU VAT, you should click “Add EU Member States”, save and then click “Update EU VAT Rates” and save, you should update the EU VAT rates regularly.
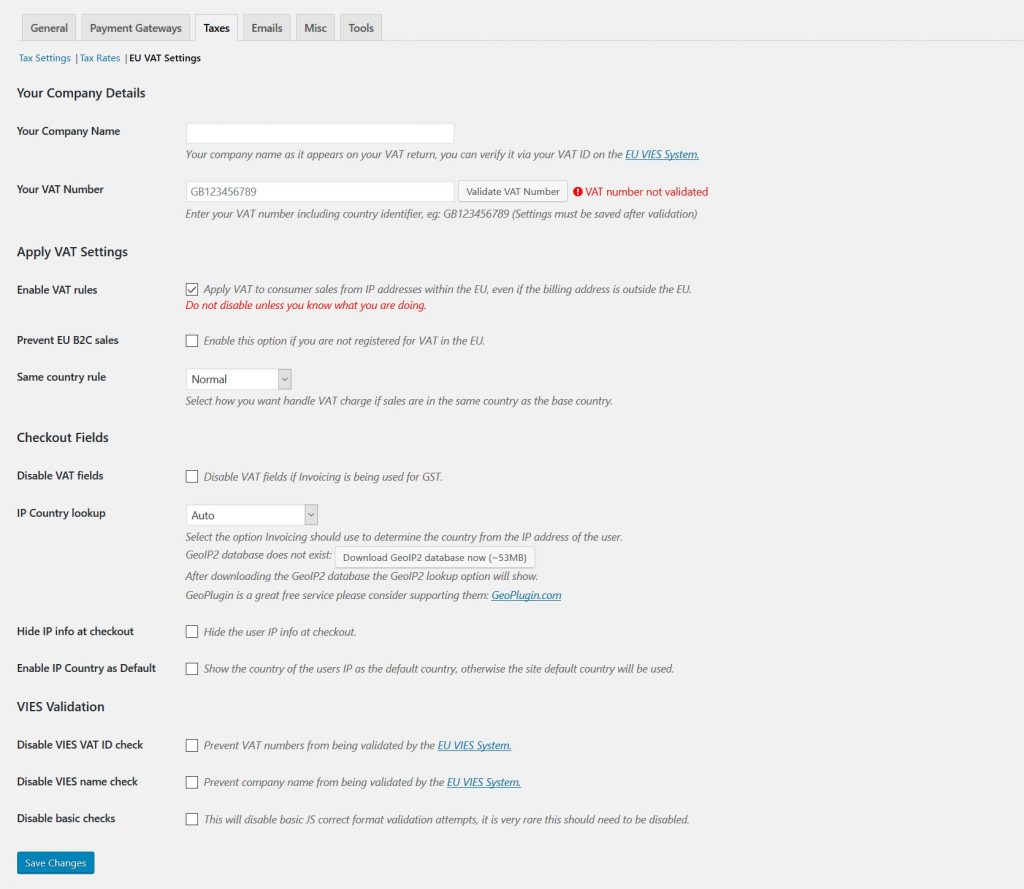
Taxes > EU VAT Settings
- Here you can setup your EU VAT settings for your business if needed.

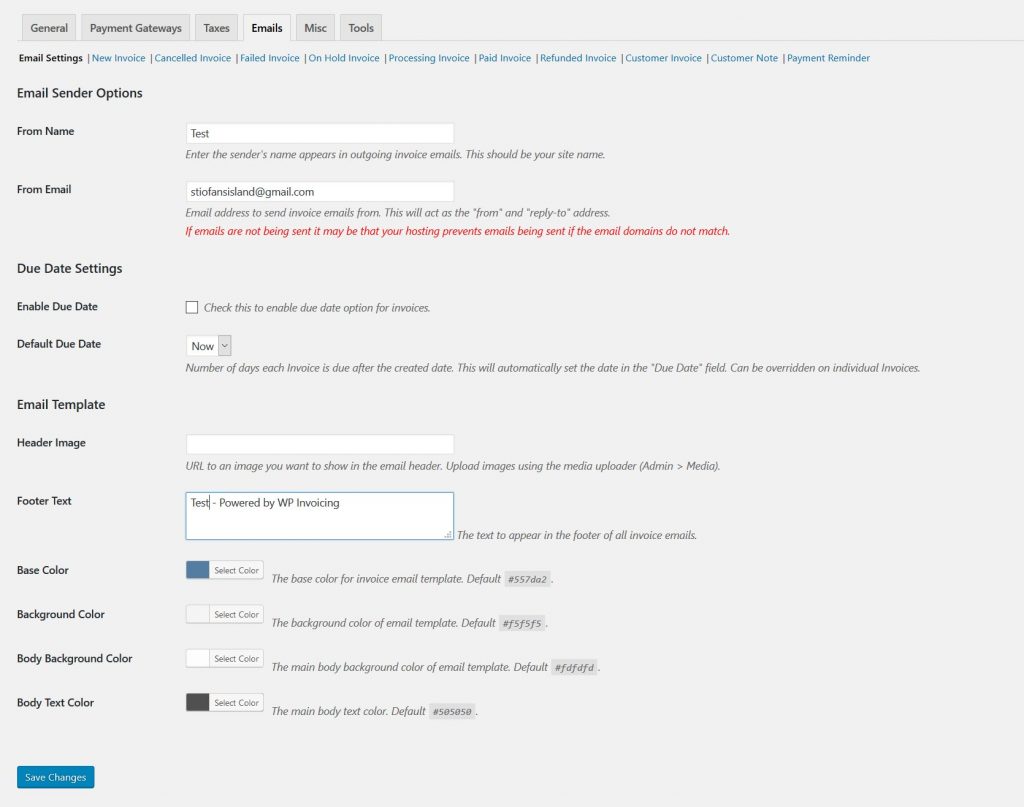
Emails > Email Settings
- Here you can customize all the emails sent by Invoicing.

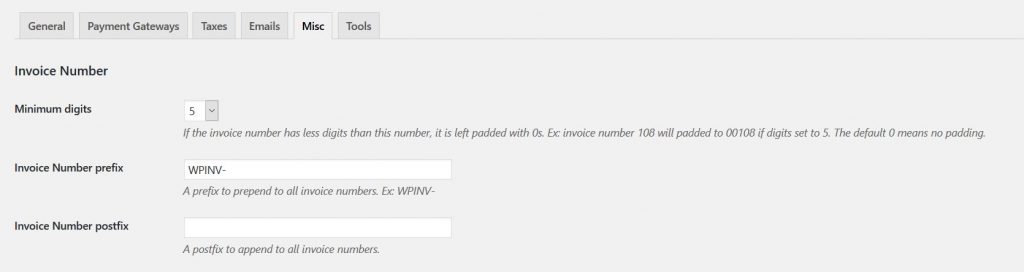
Misc > Invoice Number
- Here you can set how invoices are numbered and prefixed.

Misc > Pay via Invoice Link
- If you are planning to send invoices to new users who are not already registered on your website then you may wish to set this to “Auto log-in the user via invoice link and take them to invoice checkout to pay.” This can avoid any confusion if the user is not registered and sees a login screen when trying to view the Invoice.

You are now setup! Please see the next section Sending your first Invoice.

Automatic Updates and Licensing
- To keep your plugins up to date, you need to install the WP Easy Updates plugin.
- WP Easy Updates is available here: https://wpeasyupdates.com/
- Install and activate WP Easy Updates plugin
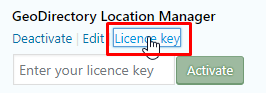
- You now will be able to add your license for your addon:

- Click on Licence key and add your licence:
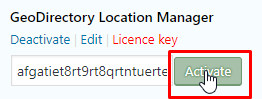
- Click on Activate:
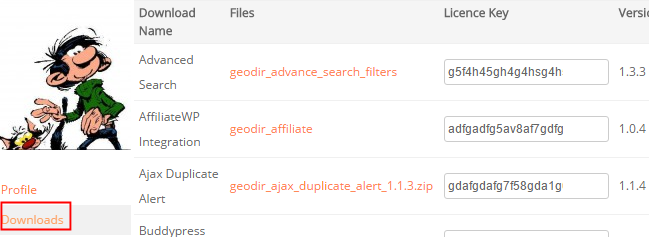
- To get your licences, go to your download area at https://wpinvoicing.com/your-account/
- Once your license is activated, your addons can then be updated with a single click.


Manual Updates with Easy Theme and Plugin Upgrades plugin
- WordPress has a built-in feature to install themes and plugins by supplying a zip file. Unfortunately, you cannot upgrade a theme or plugin using the same process. Instead, WordPress will say “destination already exists” when trying to upgrade using a zip file and will fail to upgrade the theme or plugin.
- Easy Theme and Plugin Upgrades fixes this limitation in WordPress by automatically upgrading the GeoDirectory theme or plugin if it already exists.
- Easy Theme and Plugin Upgrades is available here: https://wordpress.org/plugins/easy-theme-and-plugin-upgrades/